Introduction
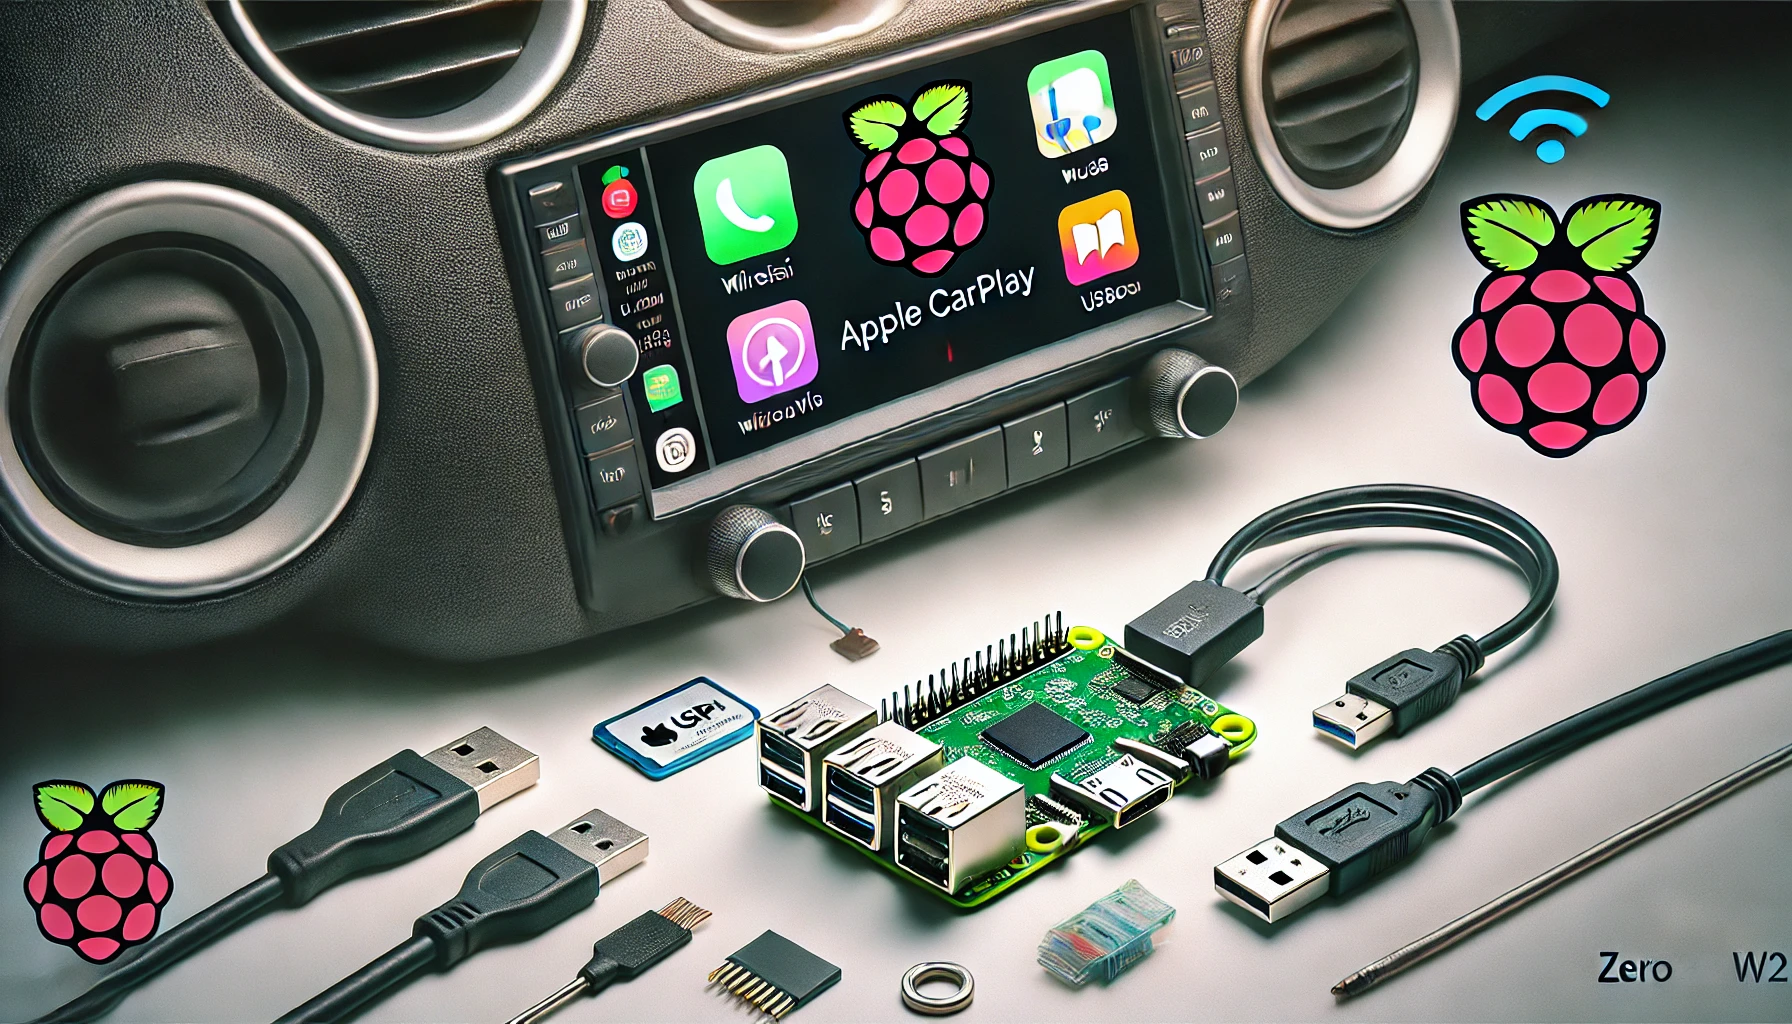
Want wireless Apple CarPlay in your car without spending on an expensive aftermarket upgrade? With a Raspberry Pi Zero W2, you can build your own wireless CarPlay dongle that seamlessly connects to your car’s infotainment system. This guide will walk you through setting up the Raspberry Pi as a CarPlay interface using open-source tools. Once set up, you’ll be able to wirelessly connect to CarPlay through Bluetooth and Wi-Fi.
What You’ll Need
- Raspberry Pi Zero W2 (with microSD card reader)
- 8 GB microSD card (or larger)
- Micro-USB to USB-A cable for connecting the Pi to your car’s USB port
- Wi-Fi connection for setup
Choosing the Right OS Version
For best performance on the Raspberry Pi Zero W2, use Raspberry Pi OS Lite (32-bit). The 32-bit version is lightweight and optimized for the Pi Zero’s limited resources, making it ideal for this project.
Step 1: Set Up Raspberry Pi OS Lite
- Download and flash Raspberry Pi OS Lite (32-bit) onto your SD card using the Raspberry Pi Imager.
- Enable SSH for remote access by creating an empty ssh file in the /boot directory of the SD card.
Set up Wi-Fi by adding a wpa_supplicant.conf file in /boot with your Wi-Fi credentials:
country=YOUR_COUNTRY_CODE
ctrl_interface=DIR=/var/run/wpa_supplicant GROUP=netdev
network={
    ssid="your_wifi_name"
    psk="your_wifi_password"
    key_mgmt=WPA-PSK
}
Step 2: Enable USB Gadget Mode
To allow the Raspberry Pi to simulate a USB Ethernet connection, set up USB gadget mode:
Open /boot/config.txt on the SD card and add:
dtoverlay=dwc2Edit /boot/cmdline.txt and add modules-load=dwc2,g_ether after rootwait on the same line, keeping it as one long string.
Step 3: Install Required Packages
Once booted, connect to the Pi via SSH and install necessary packages:
sudo apt update
sudo apt install -y hostapd dnsmasq bluez-tools git cmake build-essential
sudo systemctl stop dnsmasq
sudo systemctl stop hostapd
Step 4: Configure Wi-Fi Access Point with hostapd
Configure hostapd to create a Wi-Fi network:
sudo nano /etc/hostapd/hostapd.confAdd the following:
interface=wlan0
driver=nl80211
ssid=CarPlayPi
hw_mode=g
channel=6
wmm_enabled=1
macaddr_acl=0
auth_algs=1
ignore_broadcast_ssid=0
wpa=2
wpa_passphrase=YourSecurePassword
wpa_key_mgmt=WPA-PSK
rsn_pairwise=CCMP
Point hostapd to the configuration file:
sudo nano /etc/default/hostapdSet DAEMON_CONF to:
DAEMON_CONF="/etc/hostapd/hostapd.conf"Step 5: Configure DHCP with dnsmasq
Set up dnsmasq to provide IP addresses to connected devices:
sudo nano /etc/dnsmasq.confAdd these lines:
interface=wlan0
dhcp-range=192.168.4.2,192.168.4.20,255.255.255.0,24h
Step 6: Enable IP Forwarding and Configure NAT
Enable IP forwarding to route traffic between Wi-Fi and USB:
sudo sh -c "echo 1 > /proc/sys/net/ipv4/ip_forward"
sudo sed -i '/net.ipv4.ip_forward=1/s/^#//g' /etc/sysctl.conf
Set up NAT to allow connected devices to reach the internet (if needed):
sudo iptables -t nat -A POSTROUTING -o eth0 -j MASQUERADE
sudo sh -c "iptables-save > /etc/iptables.ipv4.nat"
sudo sed -i '$i iptables-restore < /etc/iptables.ipv4.nat' /etc/rc.local
Step 7: Install and Configure OpenAuto
Clone and build OpenAuto:
git clone https://github.com/f1xpl/openauto
cd openauto
mkdir build && cd build
cmake ..
make -j4
Create a systemd service to start OpenAuto on boot:
sudo nano /etc/systemd/system/openauto.serviceAdd this content:
[Unit]
Description=OpenAuto Service
After=network.target
[Service]
Type=simple
ExecStart=/path/to/openauto/build/bin/openauto
Restart=on-failure
User=pi
[Install]
WantedBy=multi-user.target
Replace /path/to/openauto/build/bin/openauto with the full path to the OpenAuto executable.
Enable and start the OpenAuto service:
sudo systemctl enable openauto.serviceStep 8: Enable and Start hostapd and dnsmasq
Start hostapd:
sudo systemctl unmask hostapd
sudo systemctl enable hostapd
sudo systemctl start hostapd
Start dnsmasq:
sudo systemctl enable dnsmasq
sudo systemctl start dnsmasq
Step 9: Reboot and Test
Finally, reboot the Raspberry Pi to apply all changes:
sudo rebootTesting the Setup
After the Pi reboots, it should act as a wireless CarPlay dongle. Your iPhone will connect to the Pi’s Wi-Fi network (CarPlayPi), and CarPlay should automatically launch via the Pi’s USB interface in your car.
Conclusion
With this setup, you now have a low-cost, DIY wireless CarPlay dongle! This configuration allows you to wirelessly connect your iPhone to CarPlay using Bluetooth and Wi-Fi, with the Raspberry Pi Zero W2 bridging the connection to your car’s USB port.
Enjoy your new wireless CarPlay experience, and feel free to experiment with other settings to further customise this setup!